Working with Projects
Each Kargo project is represented by a cluster-scoped Kubernetes resource of
type Project. Reconciliation of such a resource effects all boilerplate
project initialization, including the creation of a specially-labeled
Namespace with the same name as the Project. All resources belonging to a
given Project should be grouped together in that Namespace.
A minimal Project resource looks like the following:
apiVersion: kargo.akuity.io/v1alpha1
kind: Project
metadata:
  name: example
Deletion of a Project resource results in the deletion of the corresponding
Namespace. For convenience, the inverse is also true -- deletion of a
project's Namespace results in the deletion of the corresponding Project
resource.
There are compelling advantages to using Project resources instead of
permitting users to create Namespace resources directly:
-
The required label indicating a
Namespaceis a Kargo project cannot be forgotten or misapplied. -
Users can be granted permission to indirectly create
Namespaceresources for Kargo projects only without being granted more general permissions to create any newNamespacedirectly. -
Boilerplate configuration is automatically created at the time of
Projectcreation. This includes things such as project-level RBAC resources andServiceAccountresources.
Promotion Policies
A Project resource can additionally define project-level configuration. At
present, this only includes promotion policies that describe which Stages
are eligible for automatic promotion of newly available Freight.
Promotion policies are defined at the project-level because users with
permission to update Stage resources in a given project Namespace may not
have permission to create Promotion resources. Defining promotion policies at
the project-level therefore restricts such users from enabling automatic
promotions for a Stage to which they may lack permission to promote to
manually. It leaves decisions about eligibility for auto-promotion squarely in
the hands of someone like a "project admin."
In the example below, the test and uat Stages are eligible for automatic
promotion of newly available Freight, but any other Stages in the Project
are not:
apiVersion: kargo.akuity.io/v1alpha1
kind: Project
metadata:
  name: example
spec:
  promotionPolicies:
  - stage: test
    autoPromotionEnabled: true
  - stage: uat
    autoPromotionEnabled: true
Namespace Adoption
At times, Namespaces may require specific configuration to
comply with regulatory or organizational requirements. To
account for this, Kargo supports the adoption of pre-existing
Namespaces that are labeled with kargo.akuity.io/project: "true".
This enables pre-configuring such Namespaces according to your
own requirements.
Requiring a Namespace to have the kargo.akuity.io/project: "true" label to be eligible for adoption by a new Project is intended to prevent accidental or willful hijacking of an existing Namespace.
The following example demonstrates adoption of a Namespace that's been
pre-configured with with a label unrelated to Kargo:
apiVersion: v1
kind: Namespace
metadata:
  name: example
labels:
  kargo.akuity.io/project: "true"
  example.com/org: platform-eng
---
apiVersion: kargo.akuity.io/v1alpha1
kind: Project
metadata:
  name: example
spec:
  # ...
Interacting with Projects
Kargo provides tools to manage Projects using either its UI or
CLI. This section explains how to handle Projects effectively through both interfaces.
Creating a Project
- Using the UI
- Using the CLI
-
Navigate to the Kargo UI and select Create in the top right corner.
A Form tab will appear where you can enter the name of your
Project: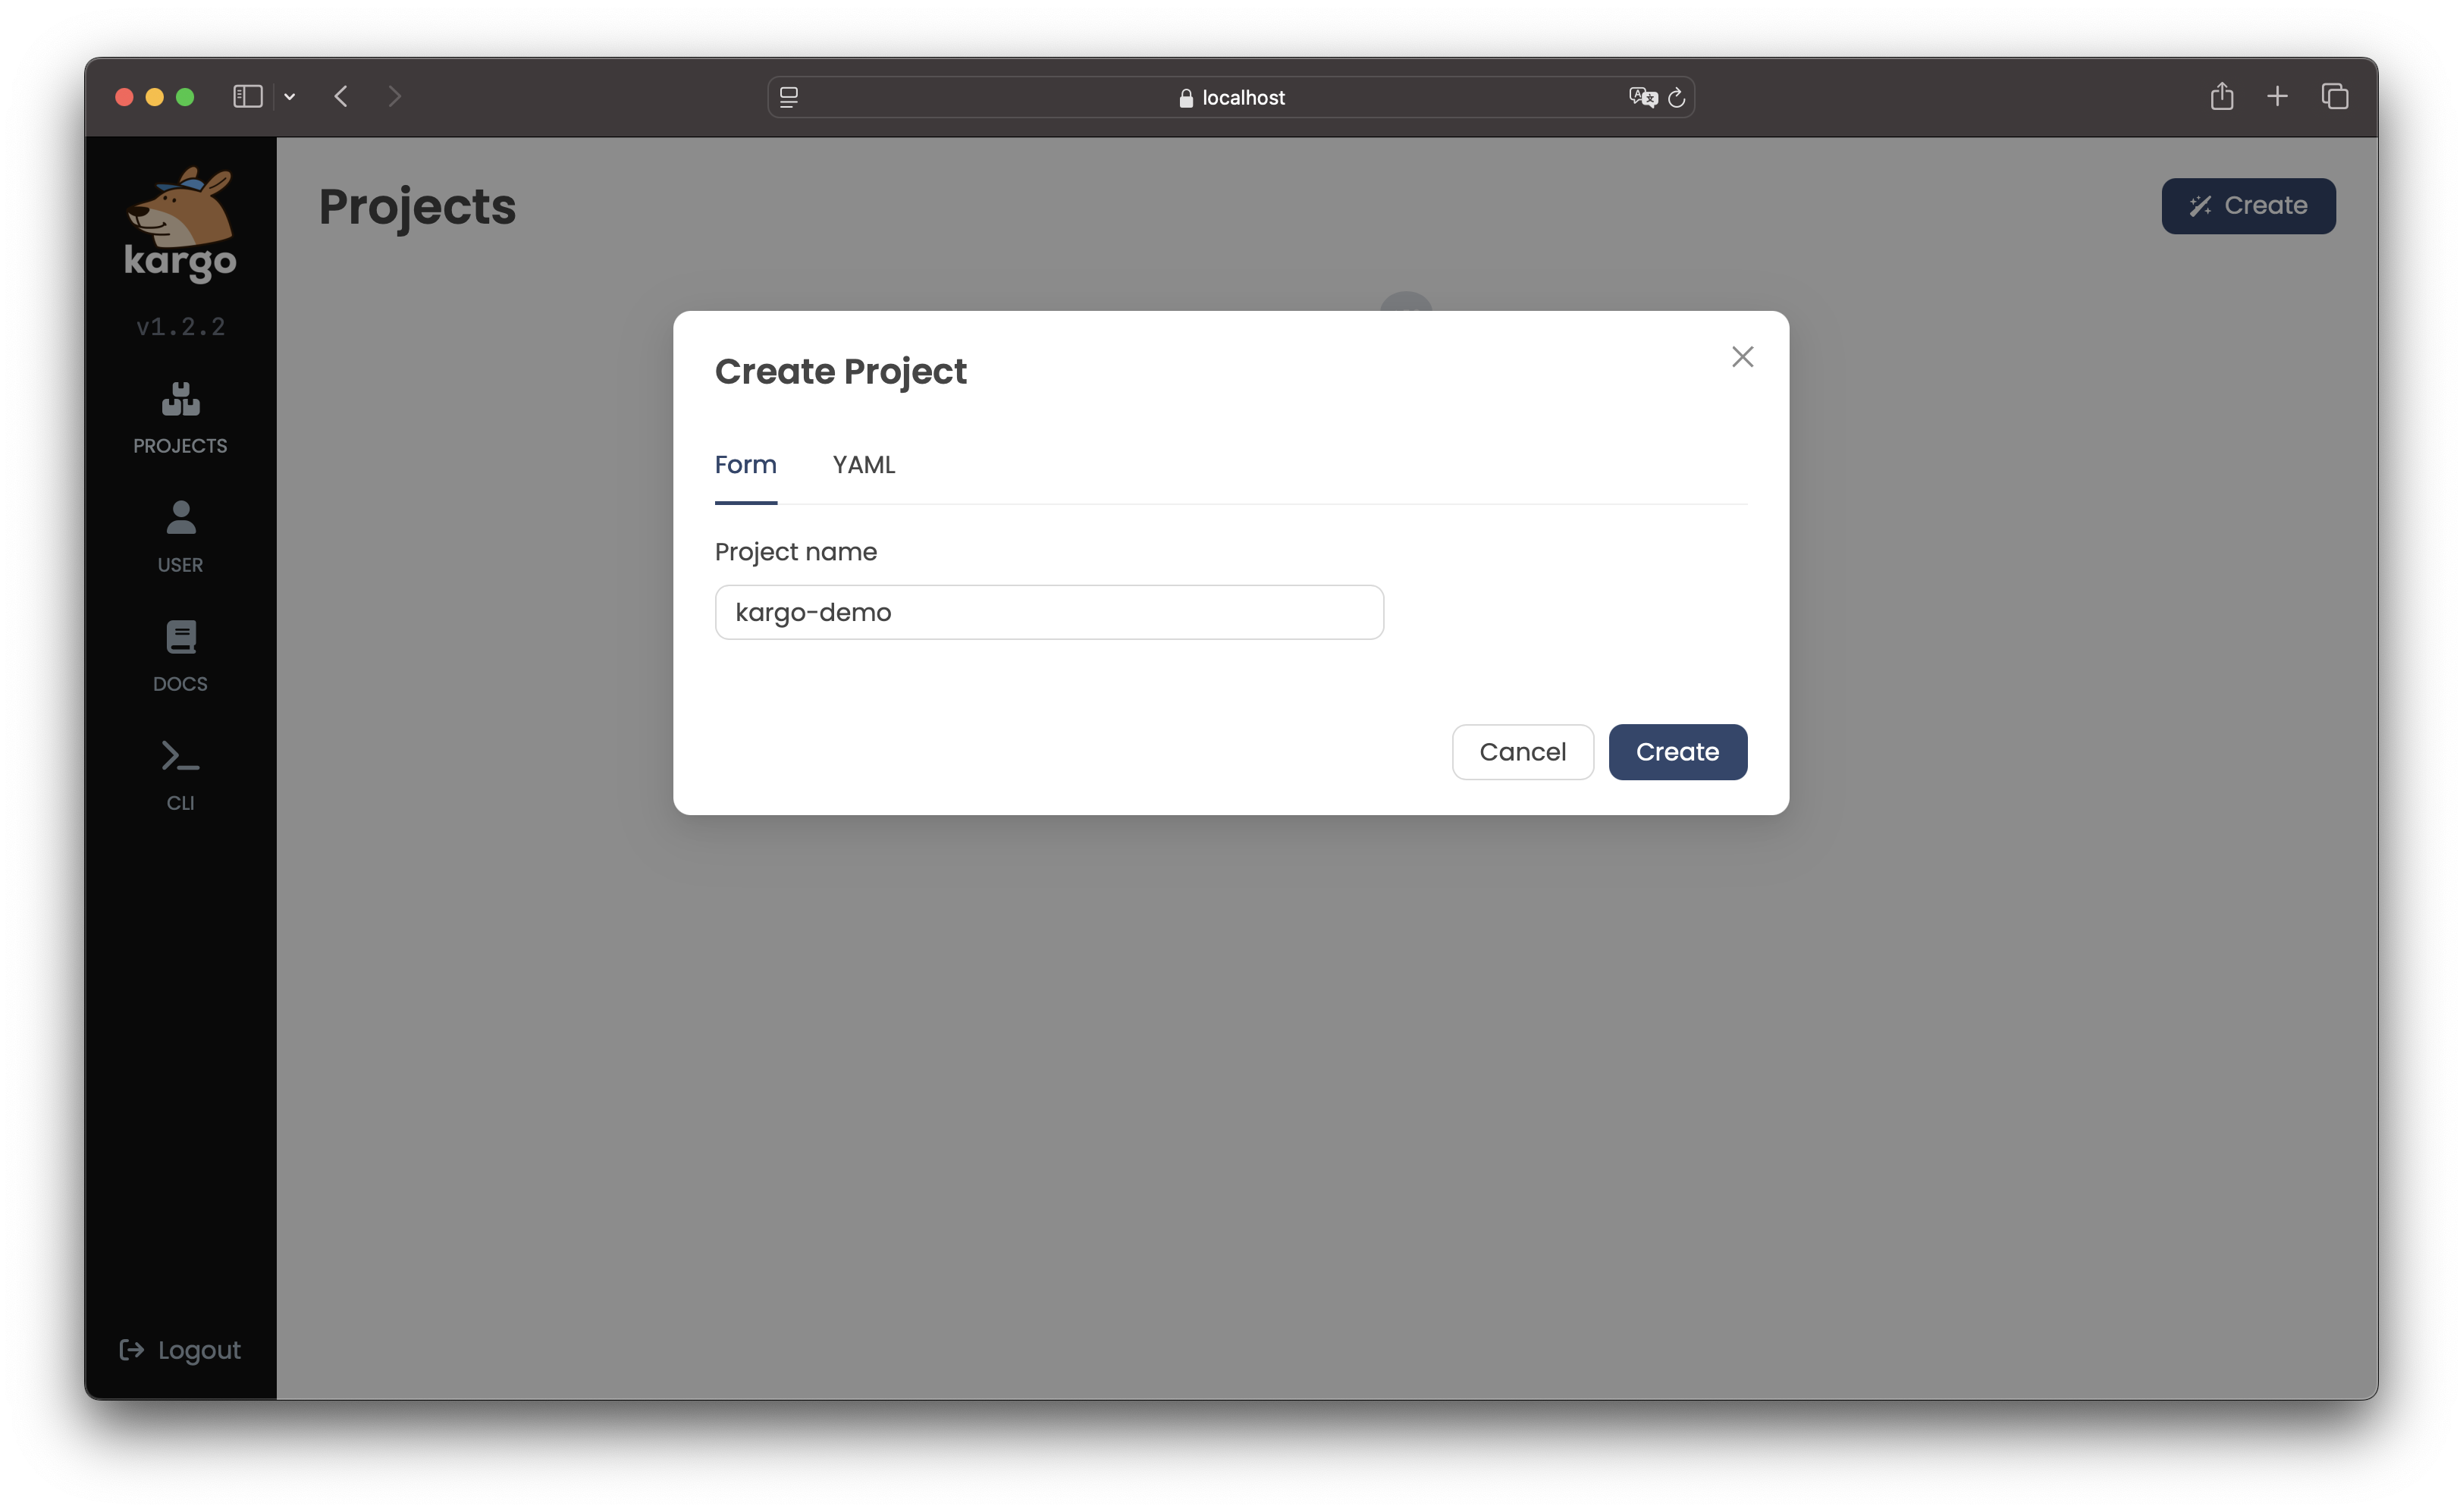
Alternatively, you can define the
Projectand other related configurations using the YAML tab: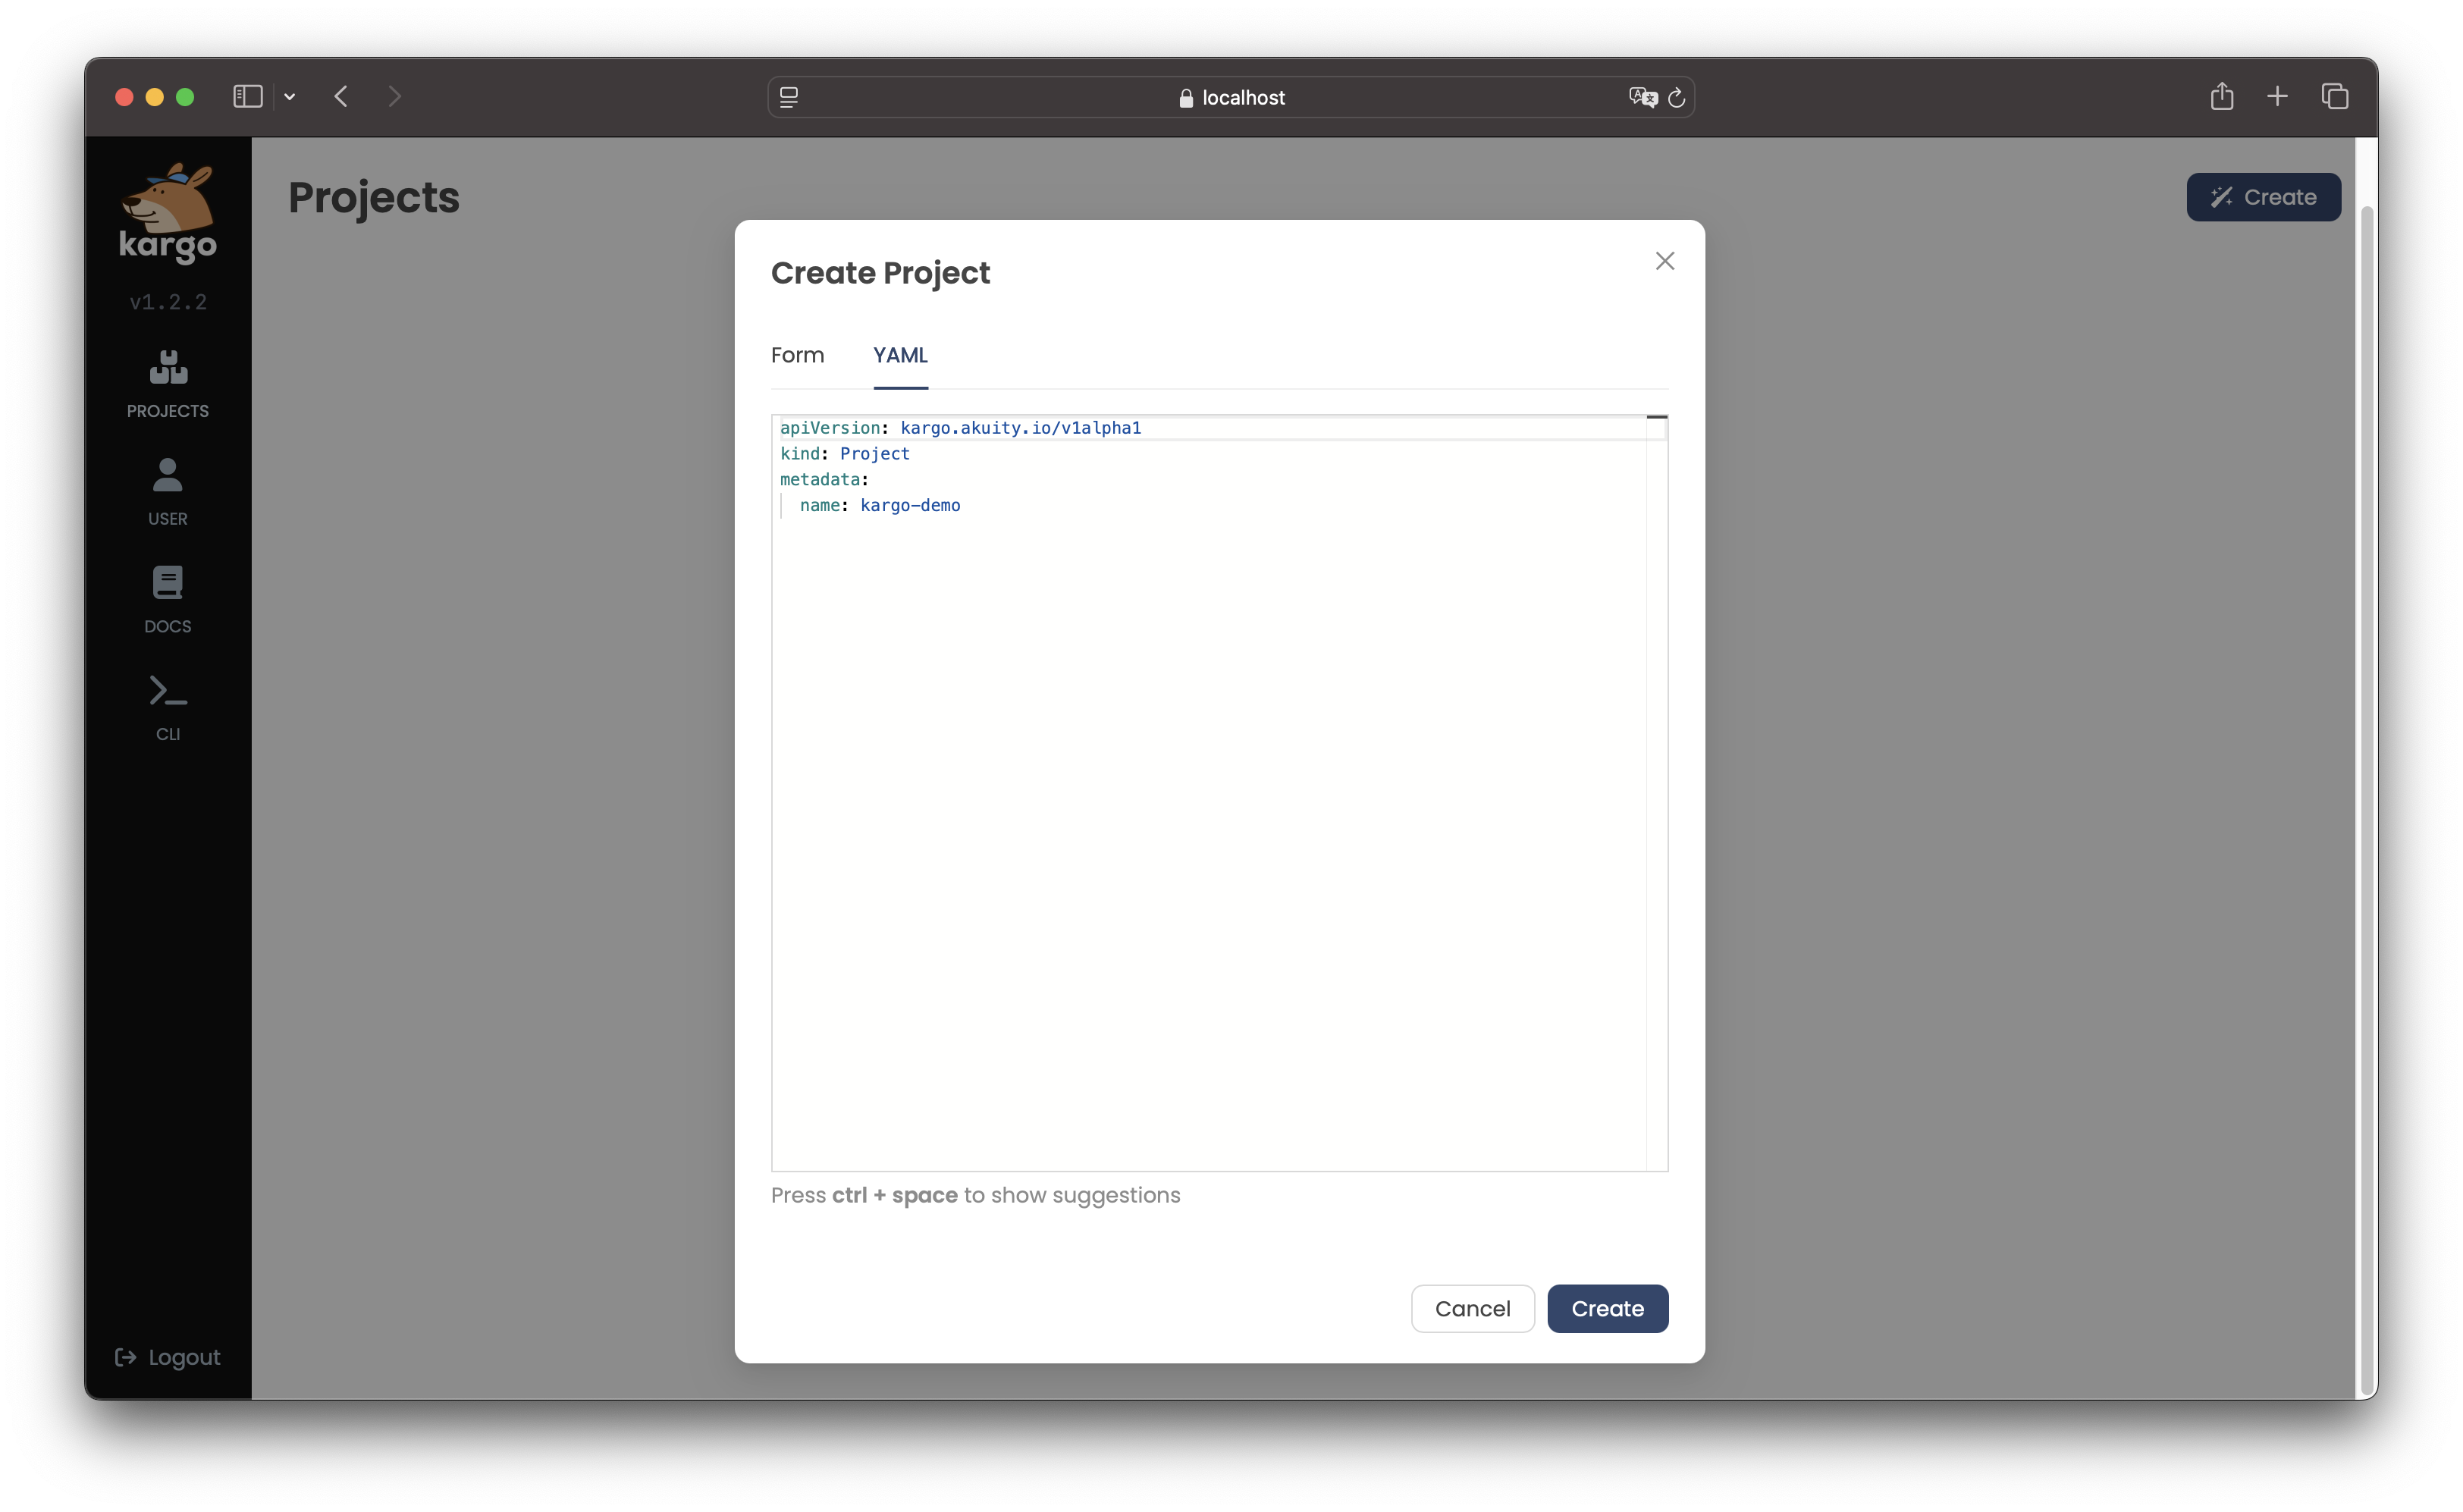
-
After completing the Form or defining the
Projectin the YAML tab, click Create.The new
Projectwill appear a card on the UI's home page: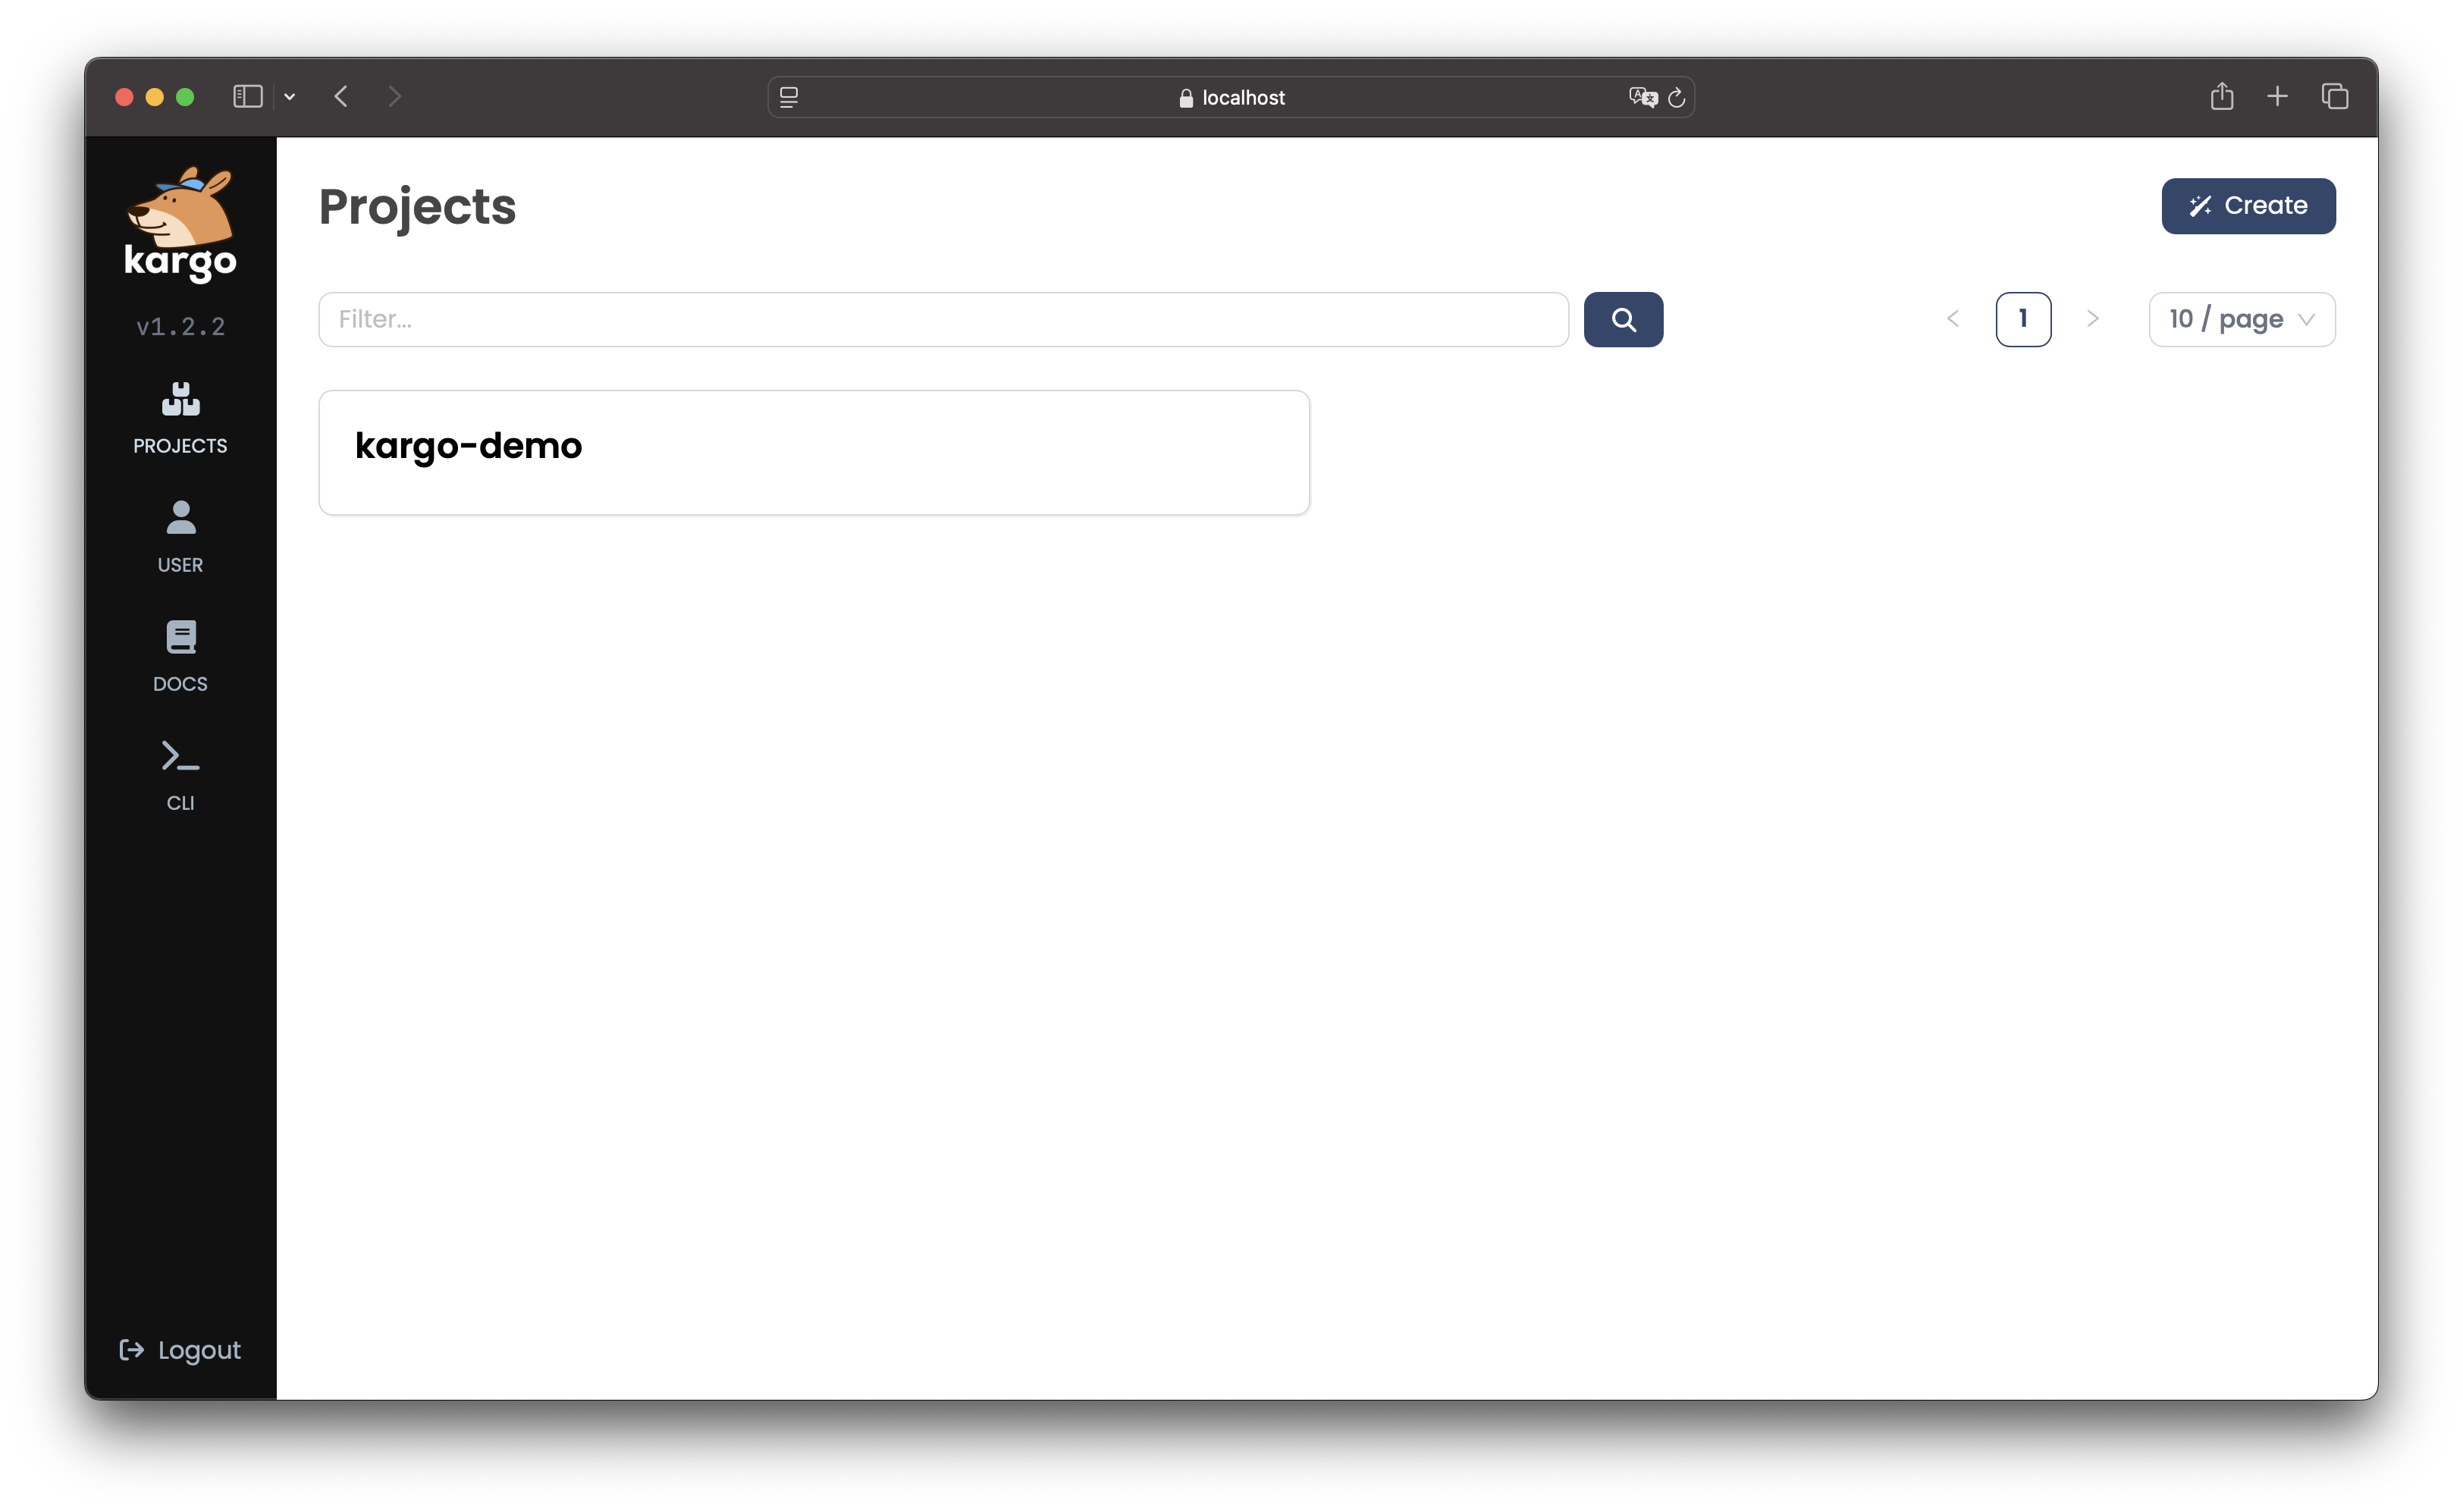
-
To create a
Projectusing the CLI, run:kargo create project <project>Alternatively, define the
Projectin a YAML file, for example:apiVersion: kargo.akuity.io/v1alpha1
kind: Project
metadata:
name: <project>Save the file and run:
kargo create -f <filename> -
To verify creation of the
Project, run:kargo get project <project>
Deleting a Project
- Using the UI
- Using the CLI
-
Select the
Projectyou want to remove. -
Click the dropdown next to the
Project's name in the upper left corner of theProjectdashboard and click Delete: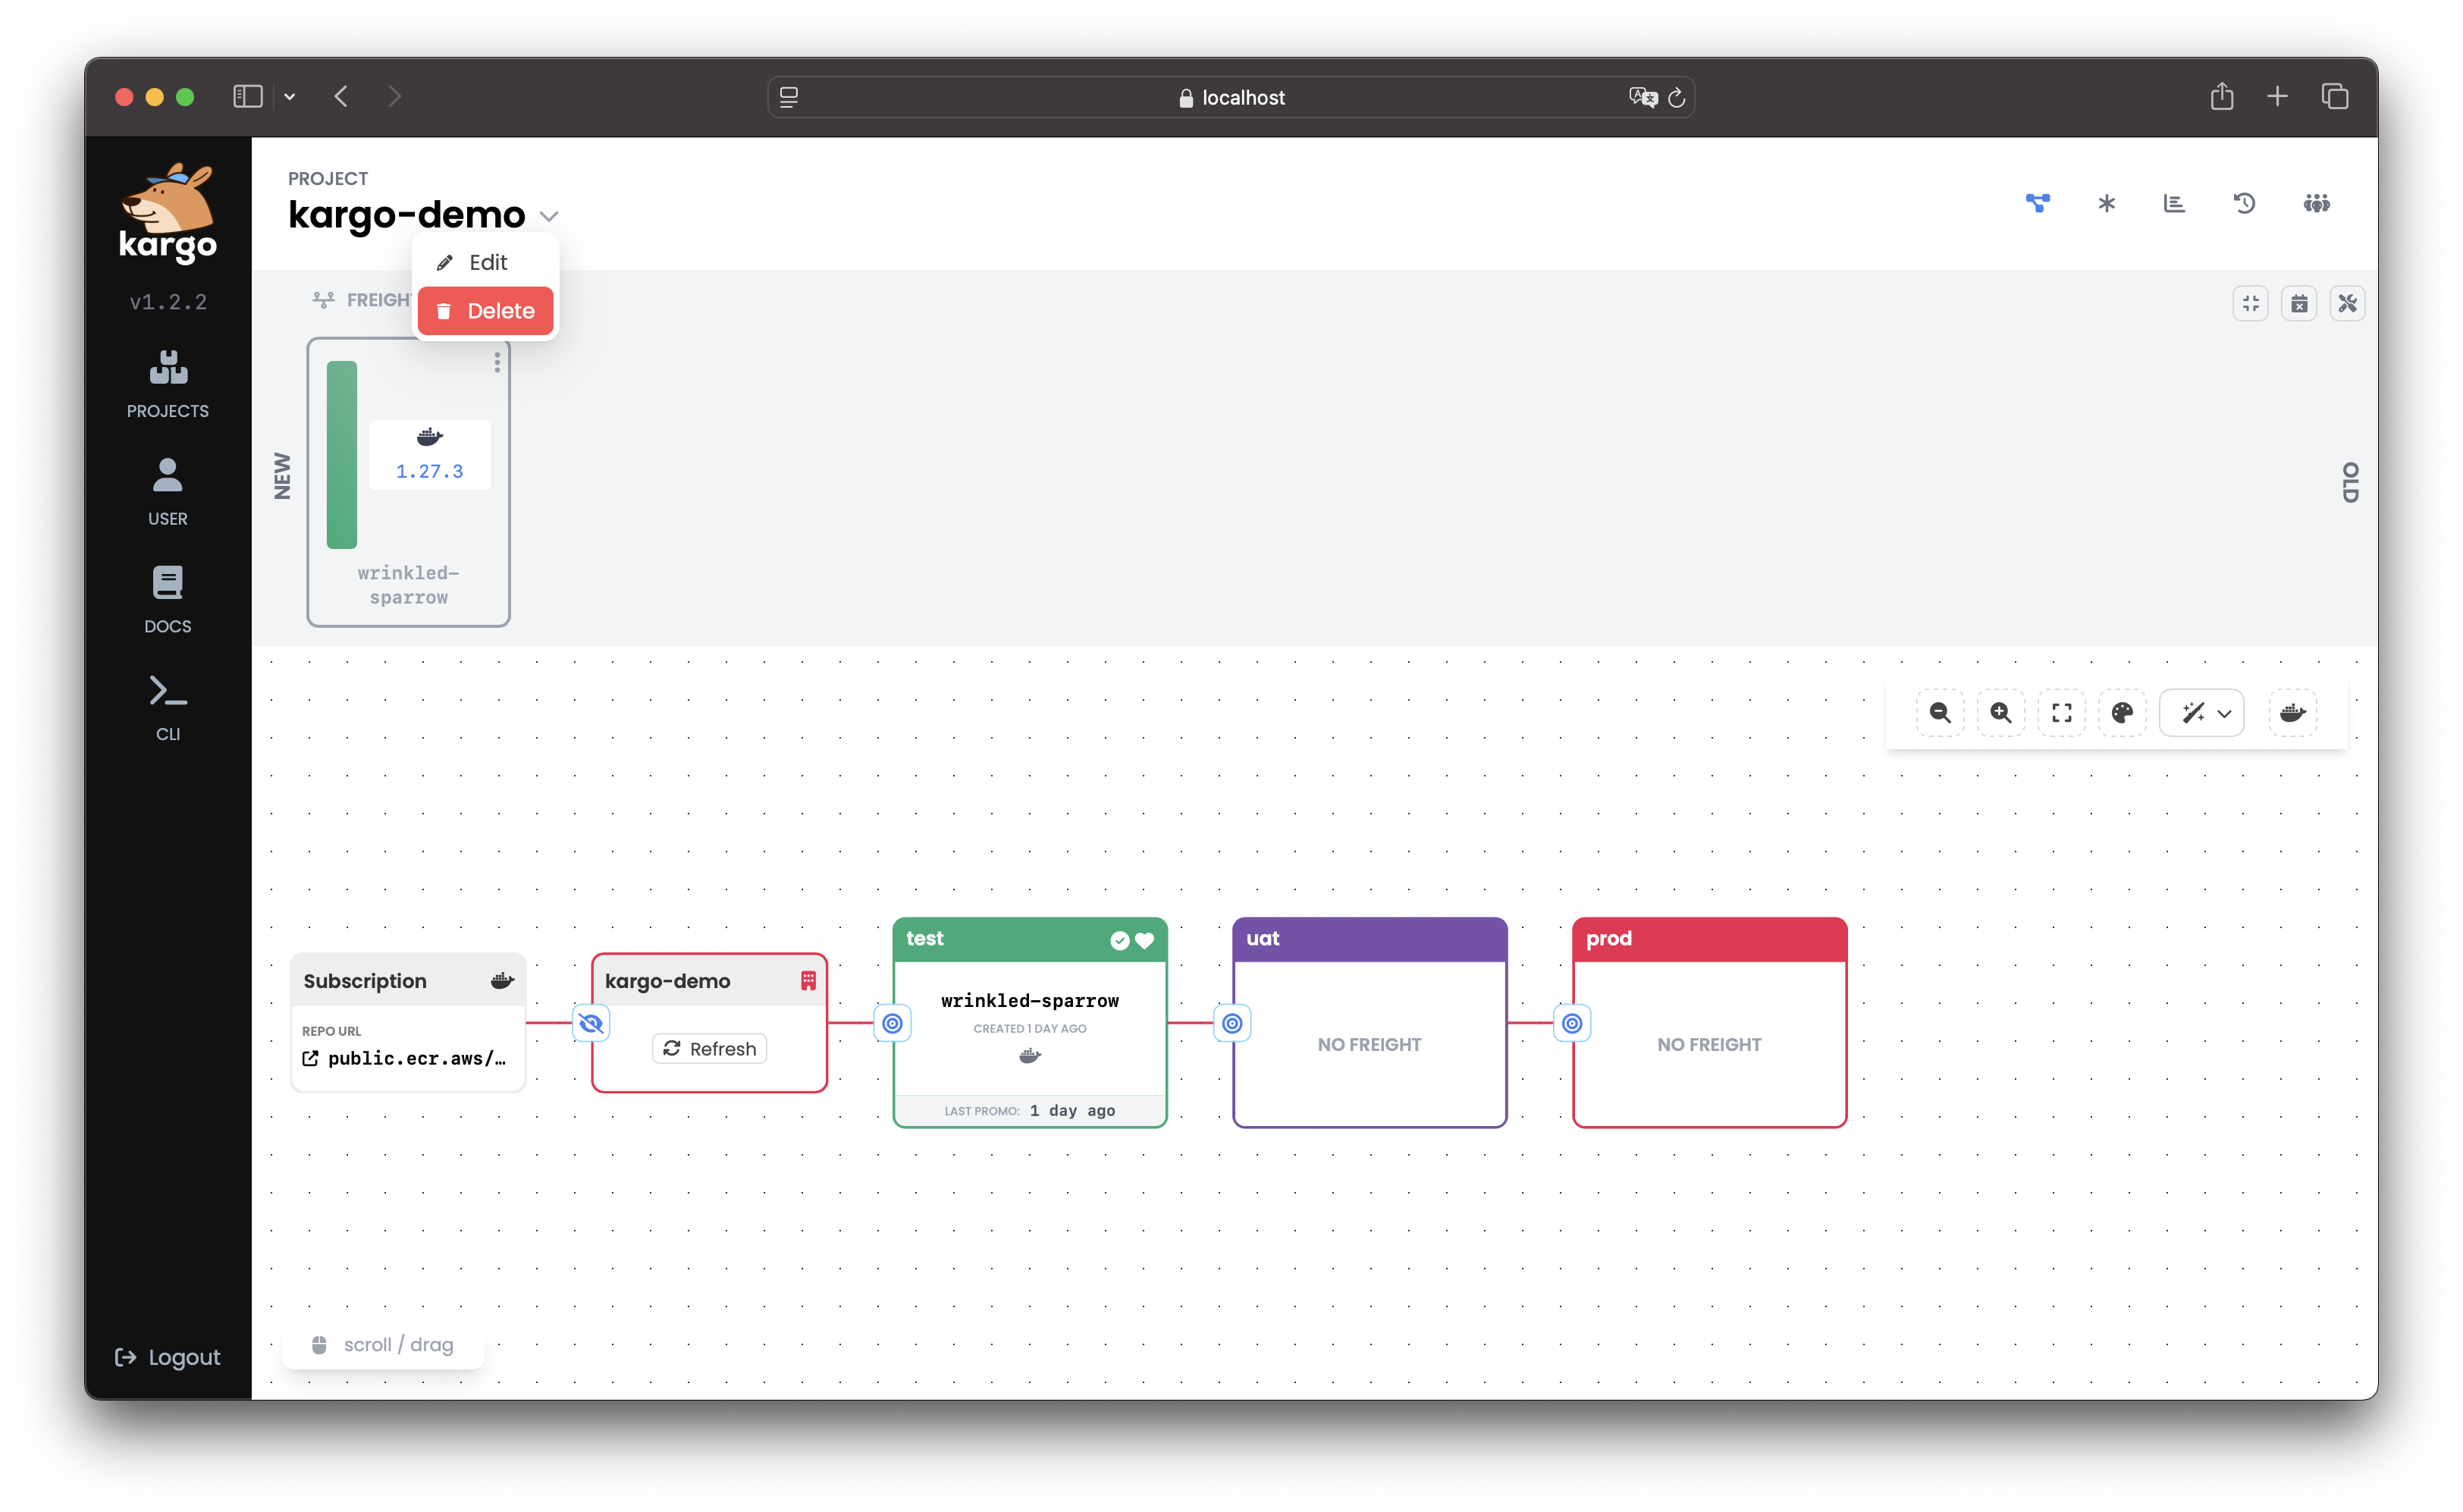
-
To confirm deletion, enter the
Project's name and click Delete to permanently remove it: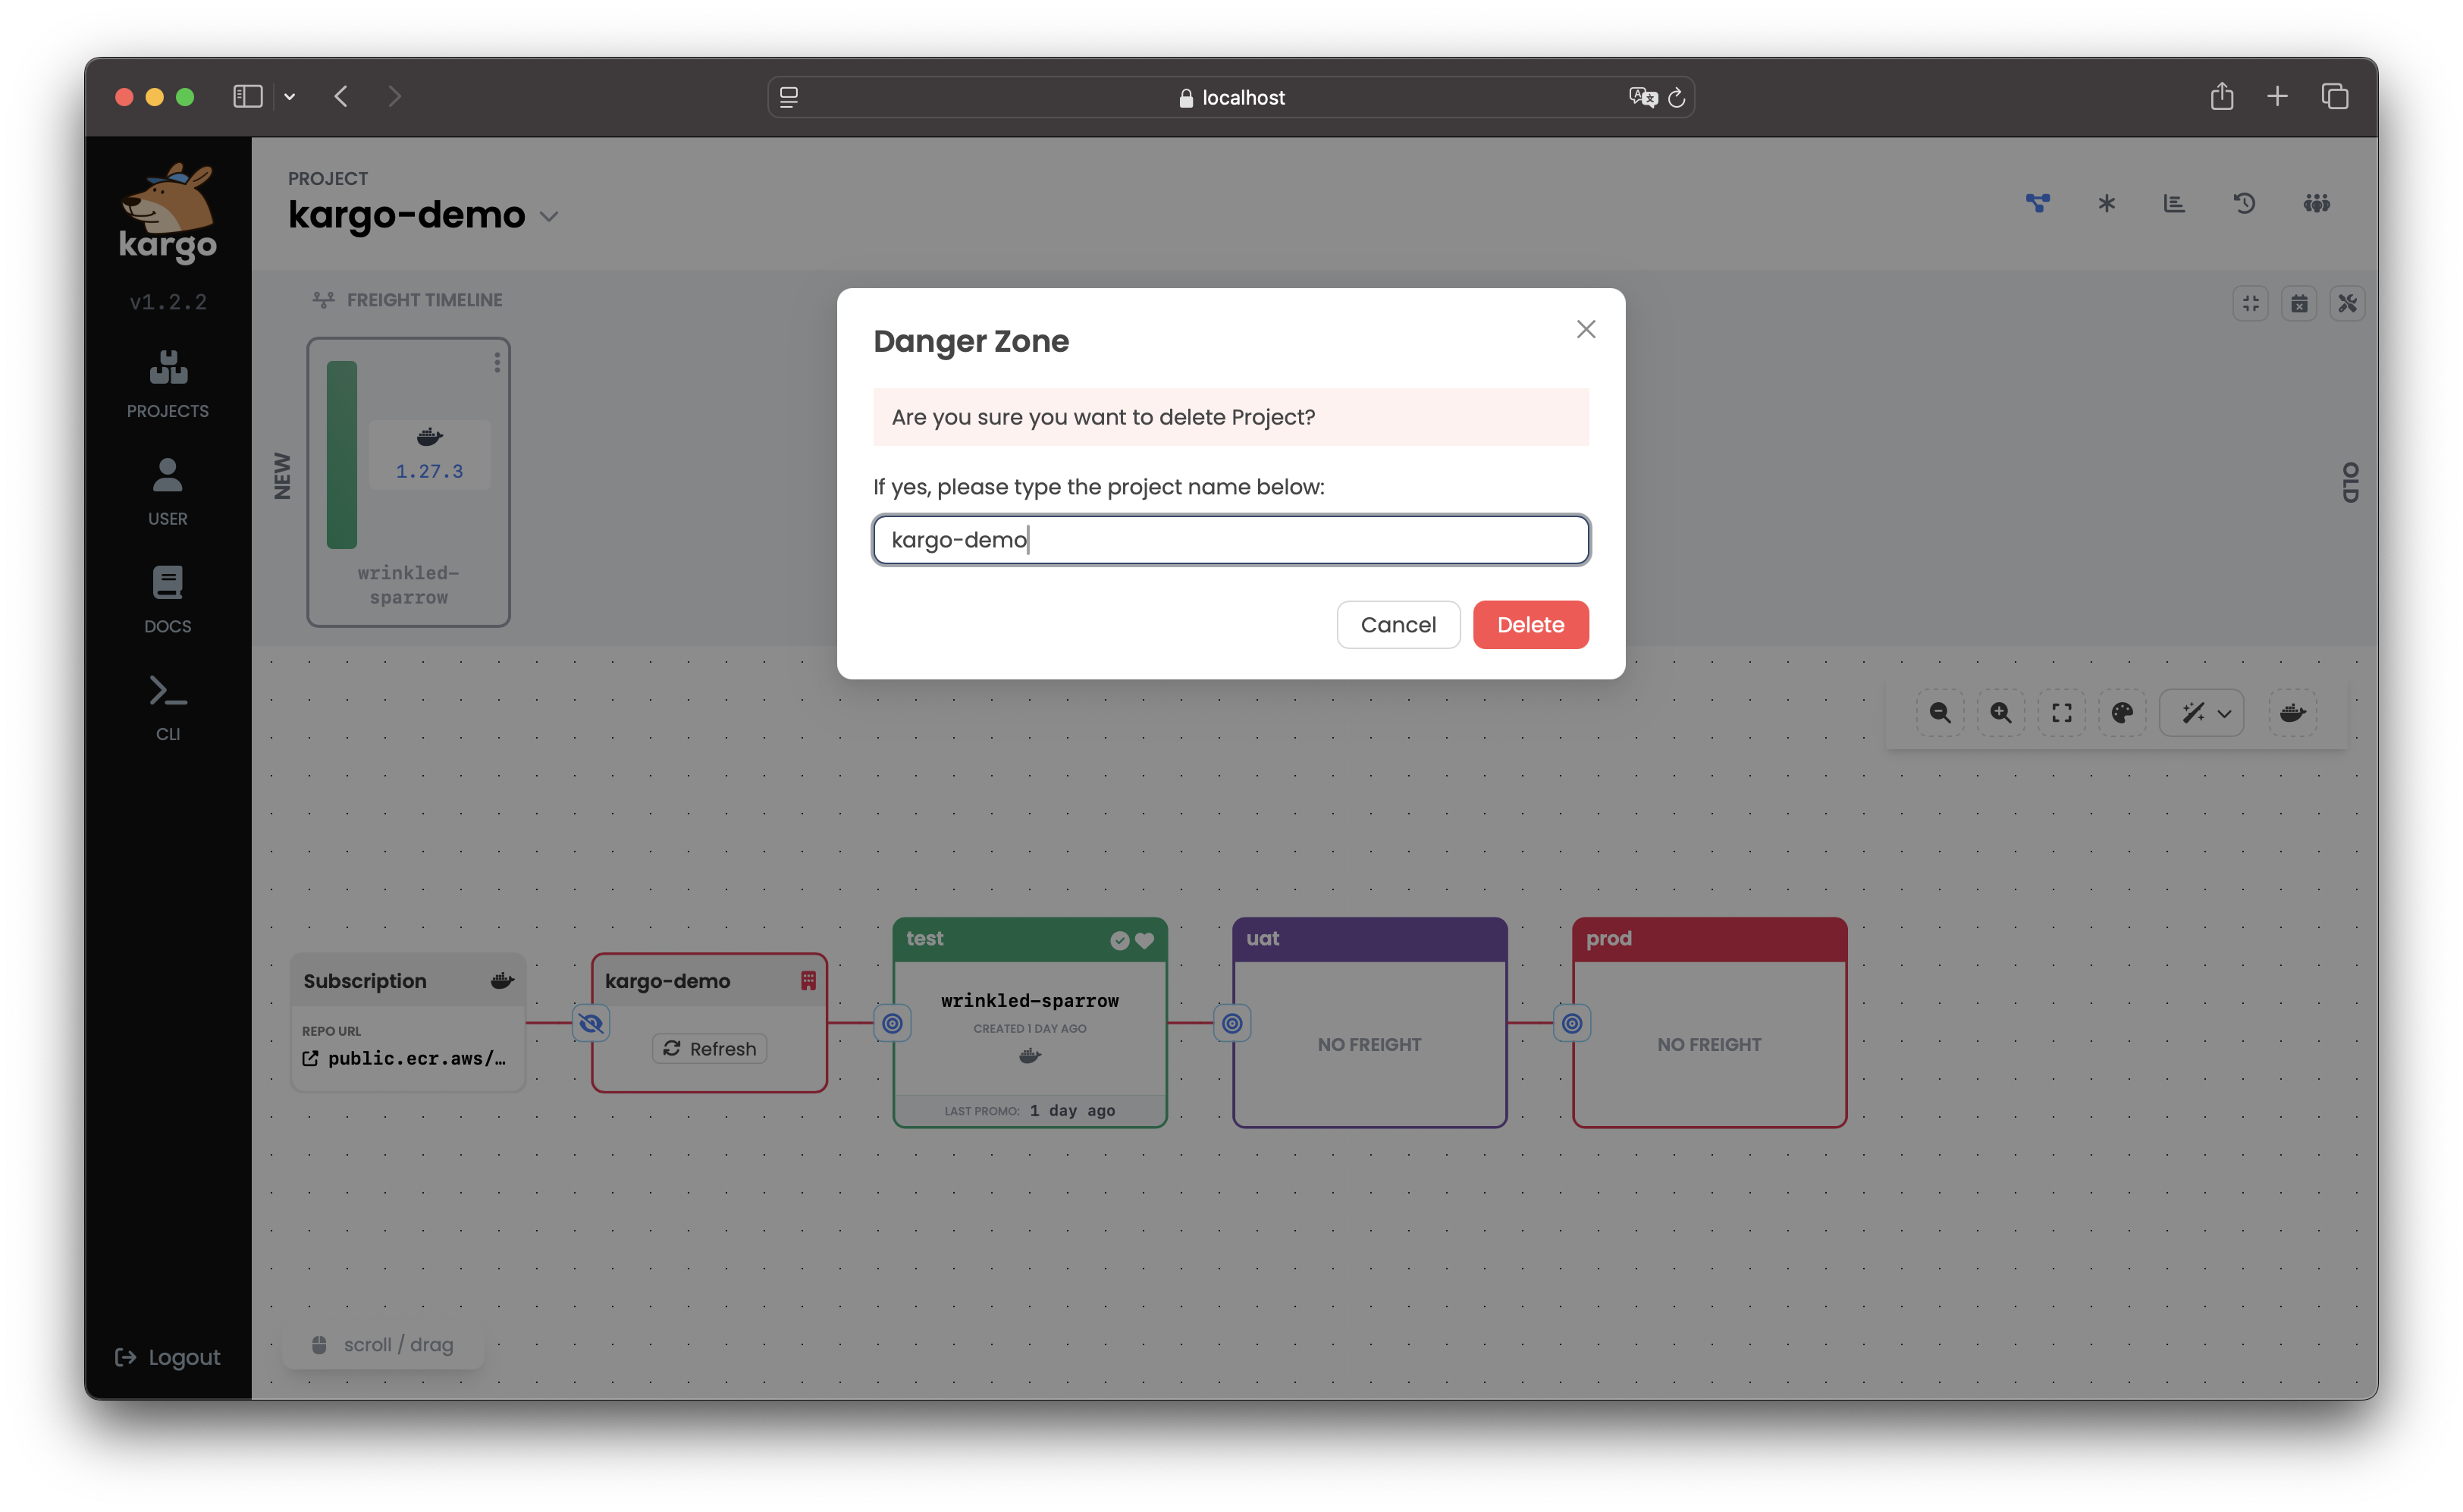
To delete a Project using the CLI, run:
kargo delete project <project>